Originally posted August 23, 2021
There are 9 basic steps to making a quilt, some take more time than others.
1. Selecting the Pattern
2. Selecting the Fabrics
3. Cutting the Fabrics
4. Piecing the Blocks
5. Assembling your Quilt Top
6. Selecting (and possibly piecing) a Backing
7. Basting your Quilt
8. Quilting your Quilt
9. Binding your Quilt
Step 8 is what I am here for today.
I have made a lot of quilts.
A lot.
The one thing that has never been consistent is step 8. The quilting part. This is arguably the most difficult part to decide on. (I say this as someone that has been piecing blocks for a very long time) I often found myself sending the quilts off to a longarm quilter to be finished. And this is not a bad choice if you can afford it. They usually offer many edge-to-edge designs that will make any quilt look fabulous. And some offer custom designs for a little (or a lot) more.
BUT.
It is a pretty large expense to take on, especially if you make a lot of quilts, and I am very aware that not everyone can afford to do this.
BEHOLD!! It is not the end of quilting!! Anyone that is already doing the other 8 steps on this list can also quilt their tops on their own!
If you have doubts, please know that I made quilts on the least expensive machine from Walmart for years. It wasn’t always easy, but it was always possible. I moved up to an inexpensive Singer for a few years after that. I now have a Janome and the additional throat space certainly makes things easier, but it was never impossible.
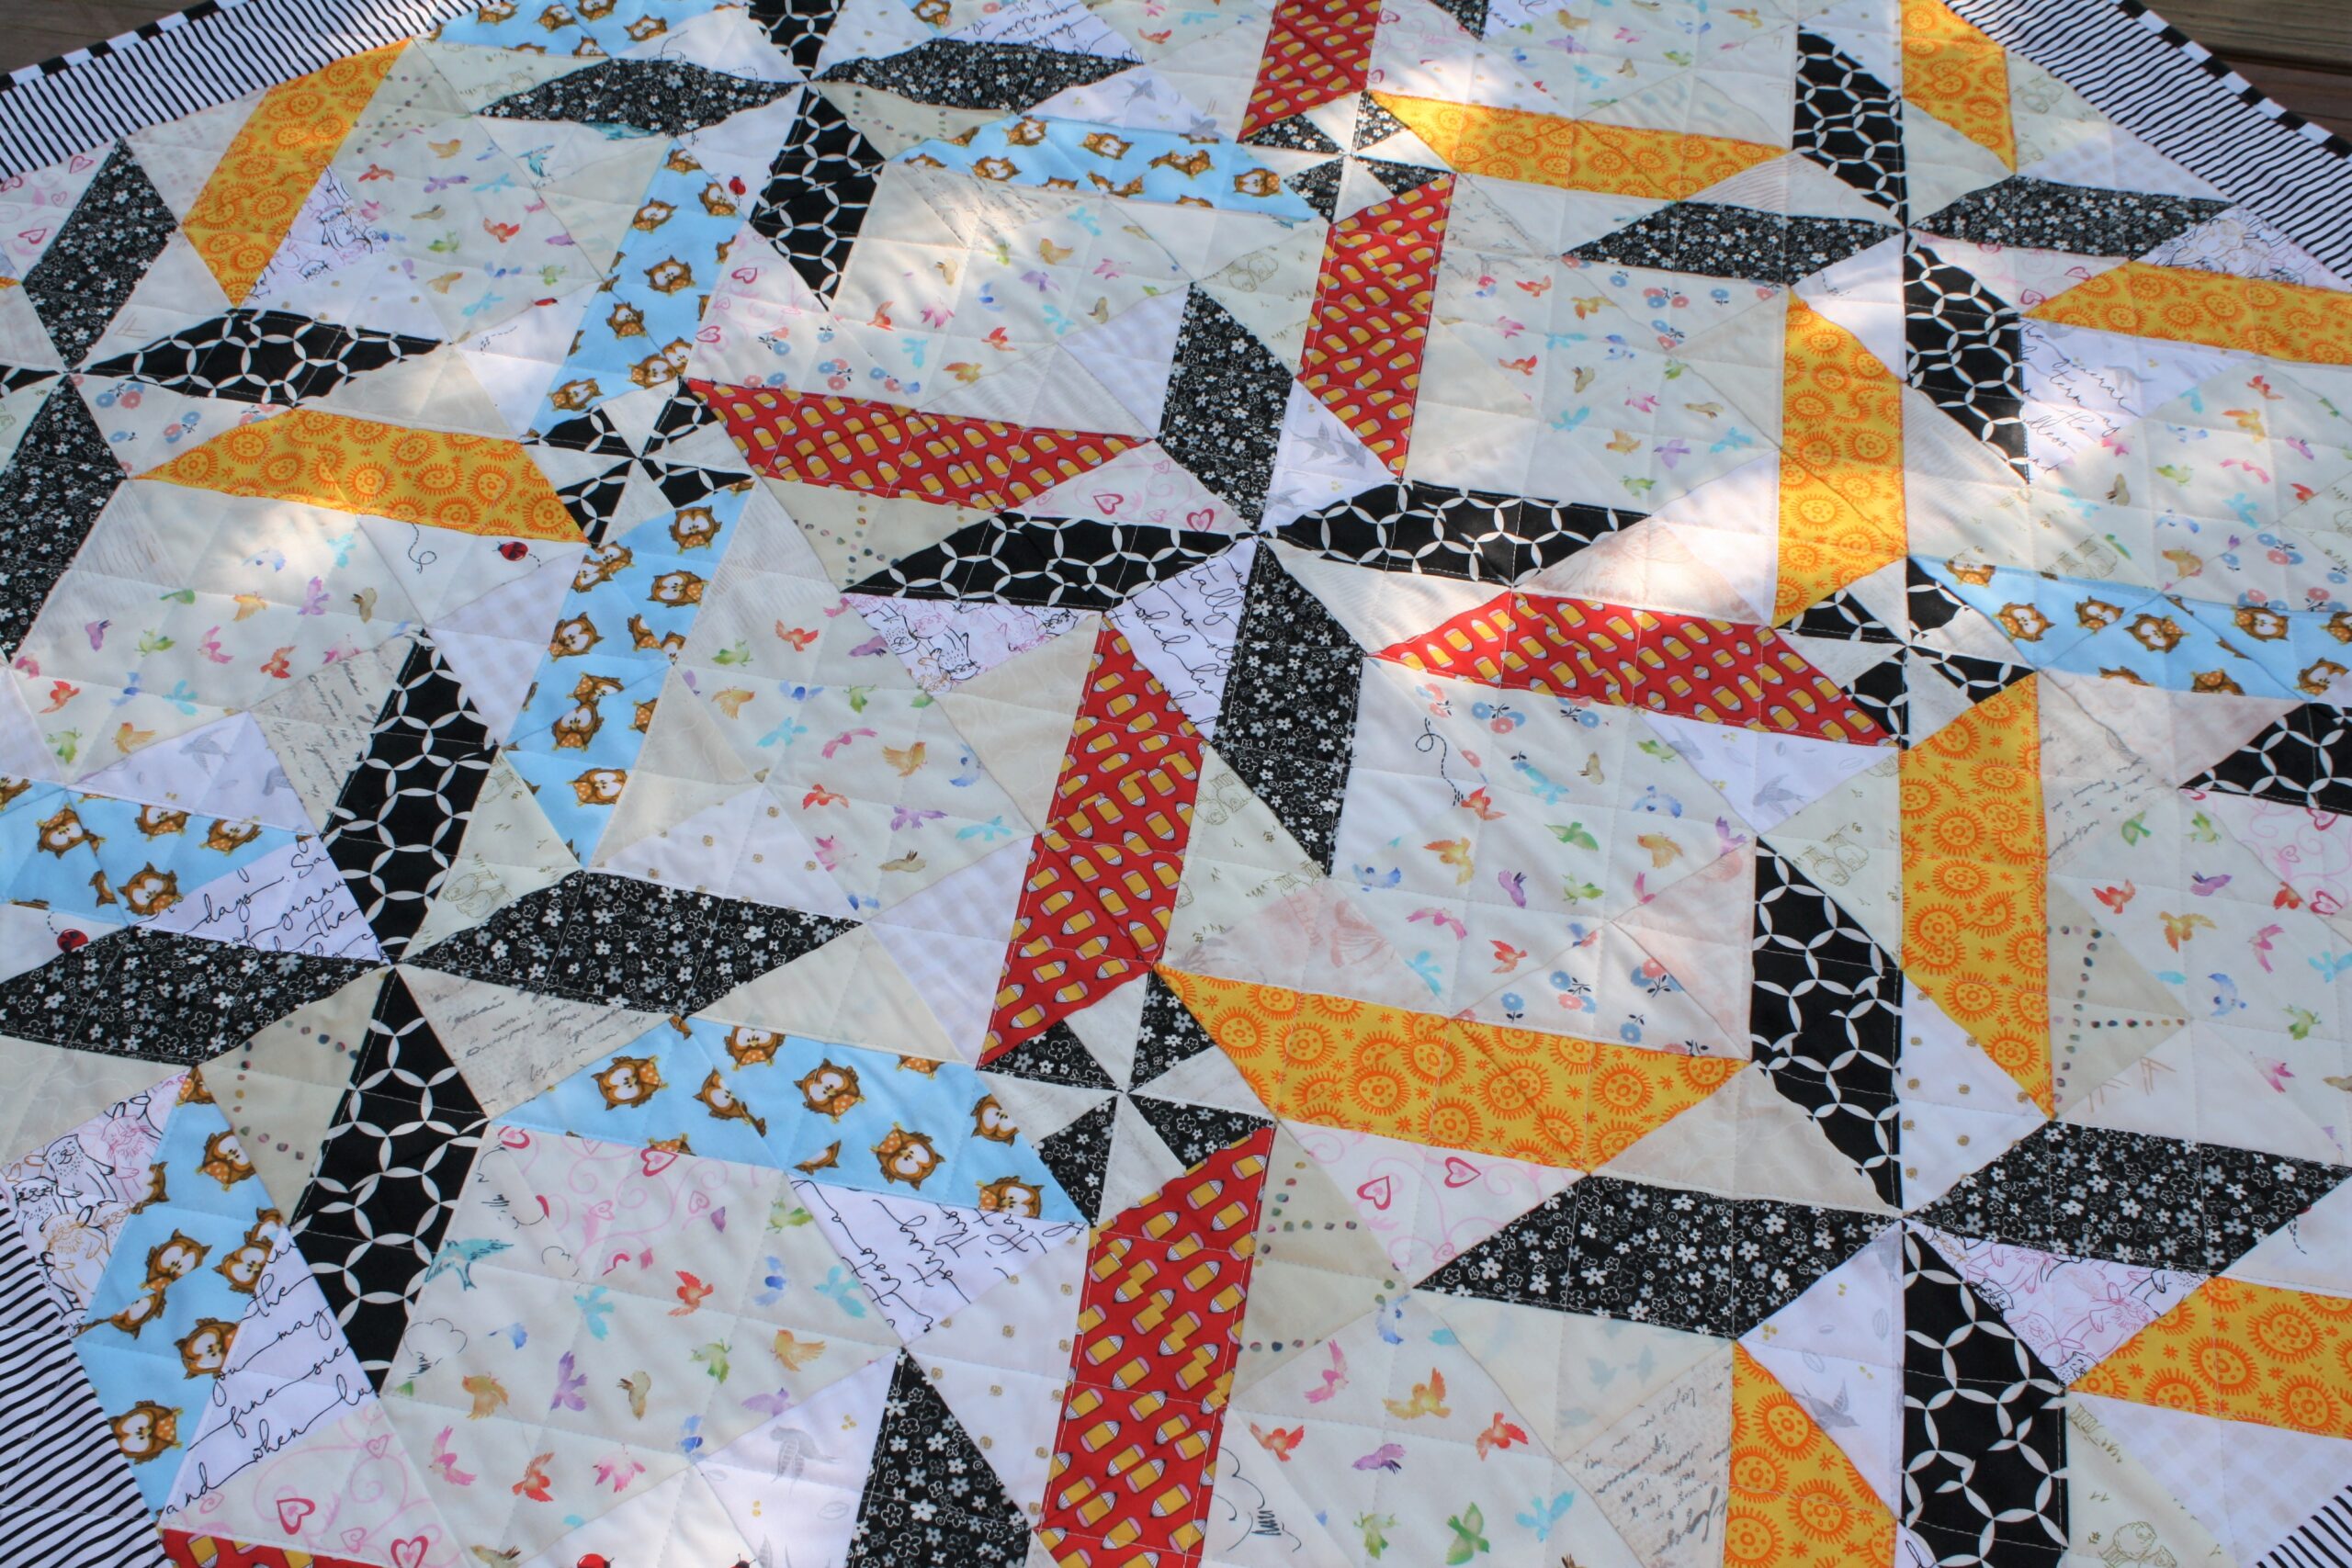
My go-to quilting design is still straight lines in some form. Sometimes I will do a wavy stitch in one-way, other times I will choose either a straight line or a wavy line cross hatch pattern. Occasionally I will choose to do some sort of free motion quilting, but that is not the focus today.
If you decide to go with a one-way line (either straight or a decorative stitch) across the entire quilt, it is best to start in the center and work your way to one edge and then to start in the center again and go toward the opposite edge. Always go in the same direction on each side because if you don’t the finished top can look like it is being pulled in different directions with each pass. I have made this mistake. Several times. Don’t be like me. Your quilts will look so much better!
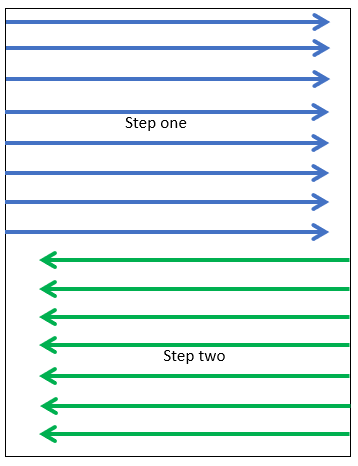
If you choose a straight cross hatch pattern, start in the middle of one side and quilt in one direction to the edge. Do this for all four sides.

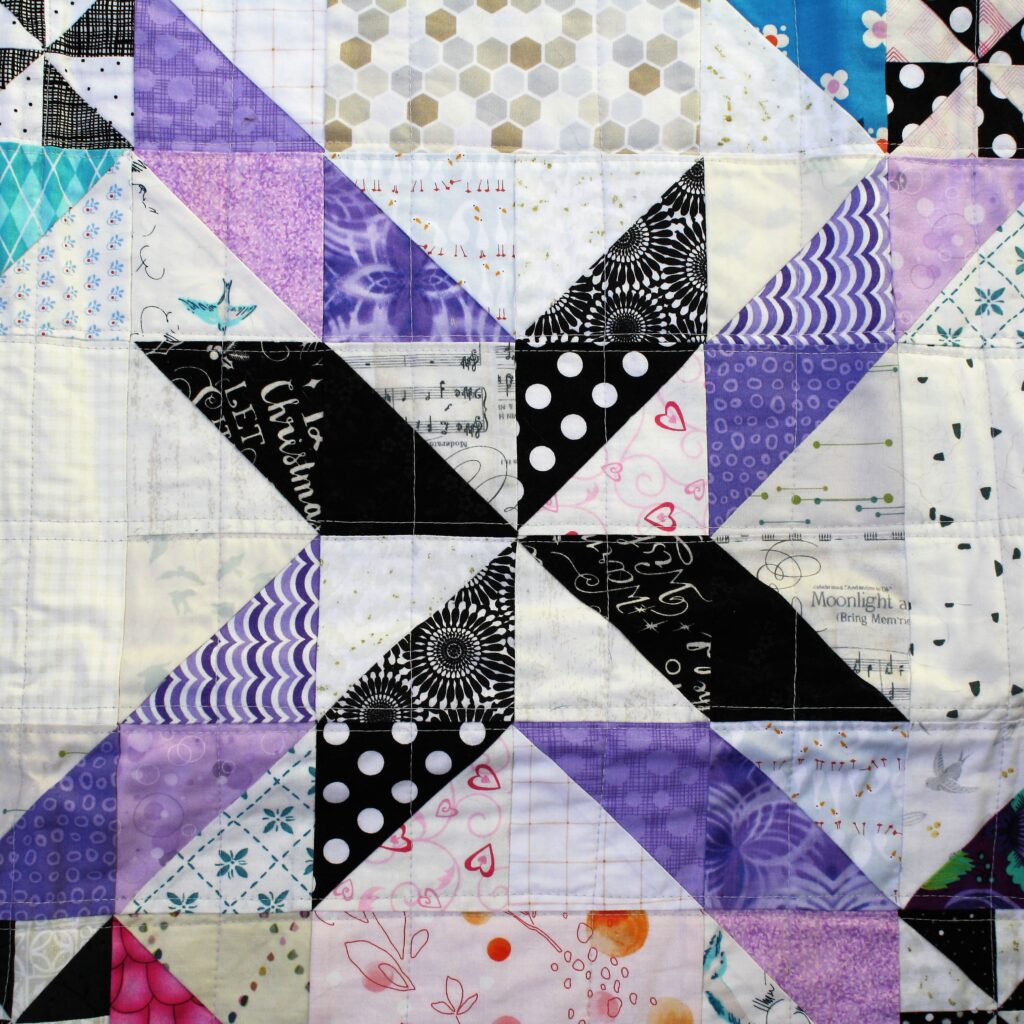
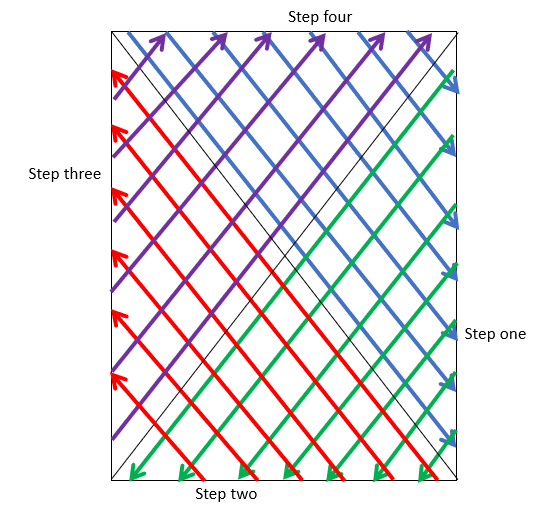
You can also do this on the diagonal for a little bit more flare!
If you can’t decide how far apart to space your lines, you can follow seam lines, pick spots on blocks to sew through, or even just go random with it! I have never had a quilt come out looking terrible using one of these options. They aren’t as fancy as free motion, edge to edge or custom quilting, but they get the job done and are a great way to start getting used to quilting with your domestic sewing machine.

What is your favorite way to finish a quilt?