Originally posted July 2, 2021
Binding a quilt is the final step and many quilters are ready to be done with it before they even start. I can admit it is not really my favorite step, but a good binding can give your quilt that perfect frame for many years to come.
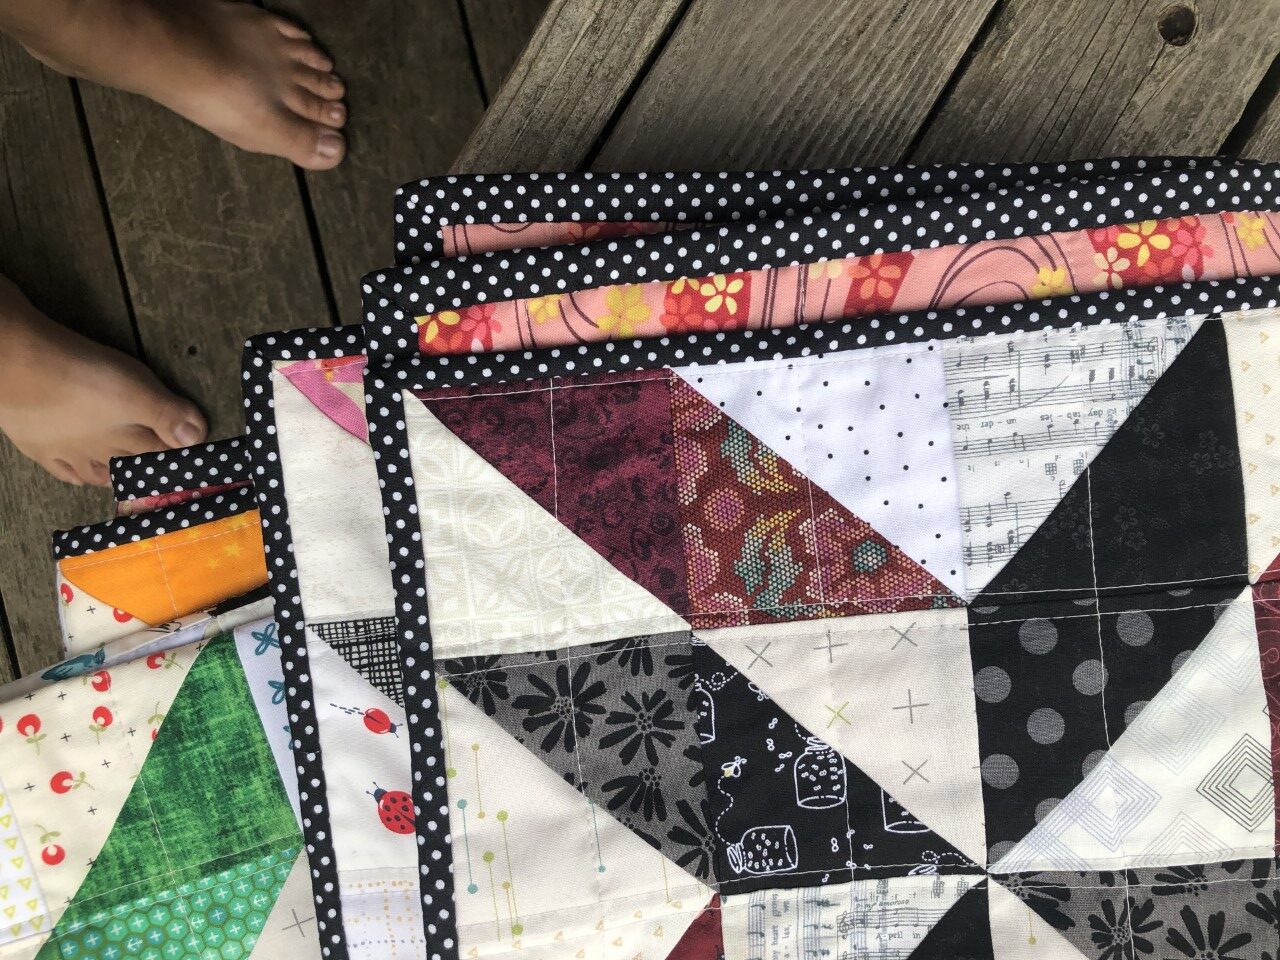
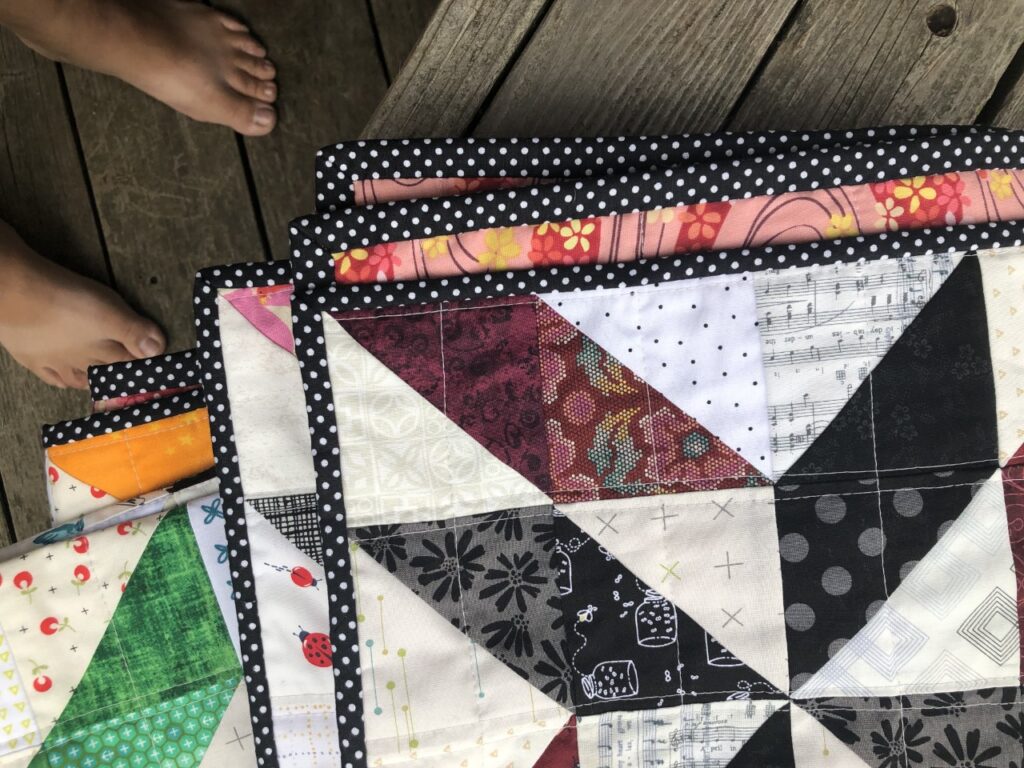
I actually use both machine and hand binding methods depending on the quilt in question. I have found that I prefer to hand bind a quilt if there is no border and there are points that go right up to the edge. It is harder to keep those points sharp when machine binding a quilt. And as the quilt I was using for this post has many points on the front, I am going to show you how I hand bind a quilt.
First, you will need to measure the outside of your quilt and determine how many strips you need to go around the edge. In my case the quilt measured 57 x 72 inches. So that means I needed 258 inches of binding to go all the way around the edge. (57 + 57 + 72 +72) Standard quilting cotton gives you about 42 usable inches per width of fabric, but I like to just use 40 inches because I attach the strips together on the diagonal. This means I needed 7 strips for this quilt. I cut my strips 2 1/2 inches. I have done 2 1/4 inches in the past, but I like the extra wiggle room I get with 2 1/2 inches.
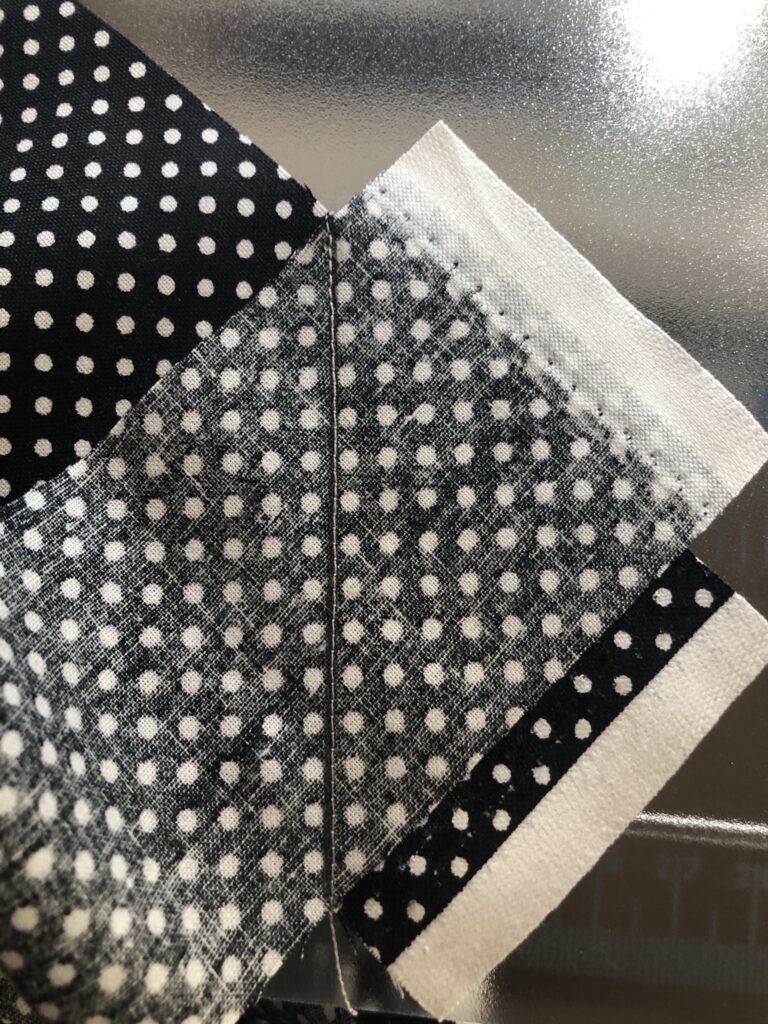
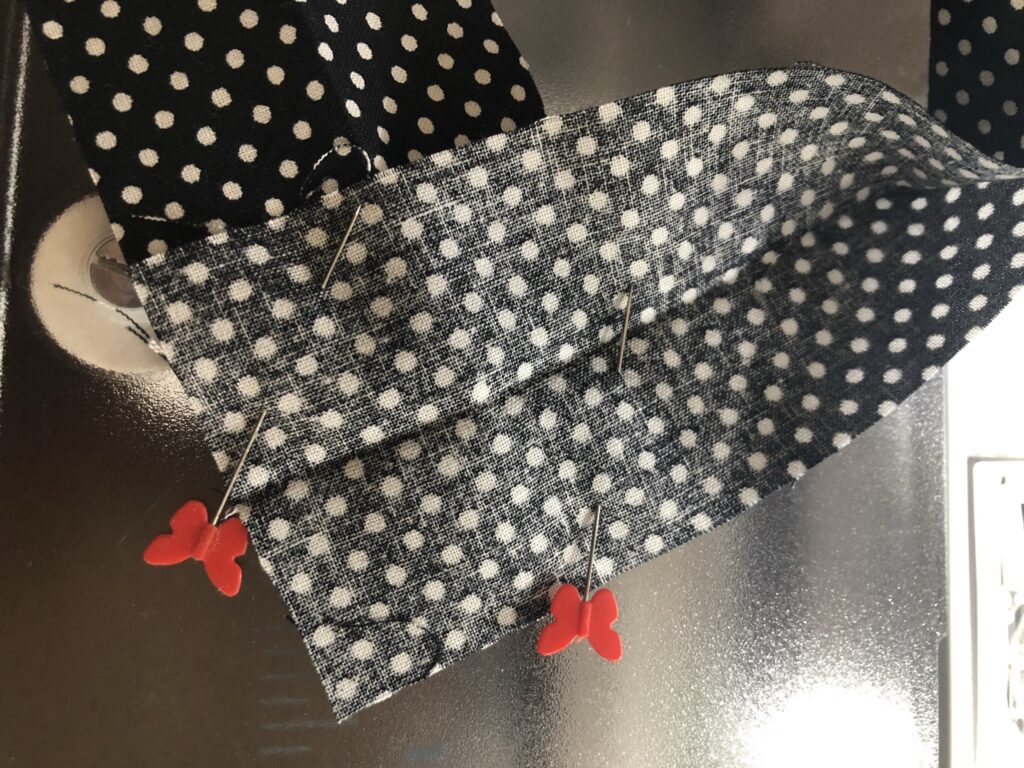
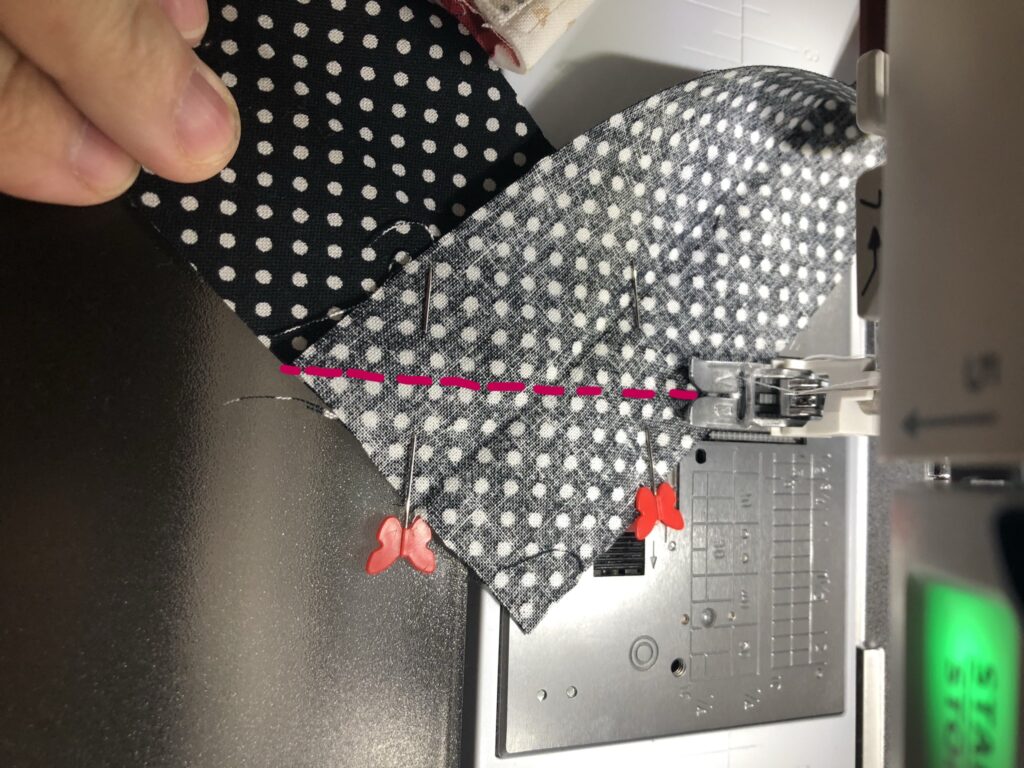
I don’t bother to cut off selvages as they will get trimmed off anyways. I line them up as seen here and sew from corner to corner. You can draw a line if you want, but most of the time I can get a pretty straight line for the short distance and if it is a tiny bit off, it won’t really matter as that part would be sewn under later anyways.
Sewing them on the diagonal will use a tiny bit more fabric than sewing them straight, but this way will spread out the seams so they do not get bulky when you sew the binding to your quilt.
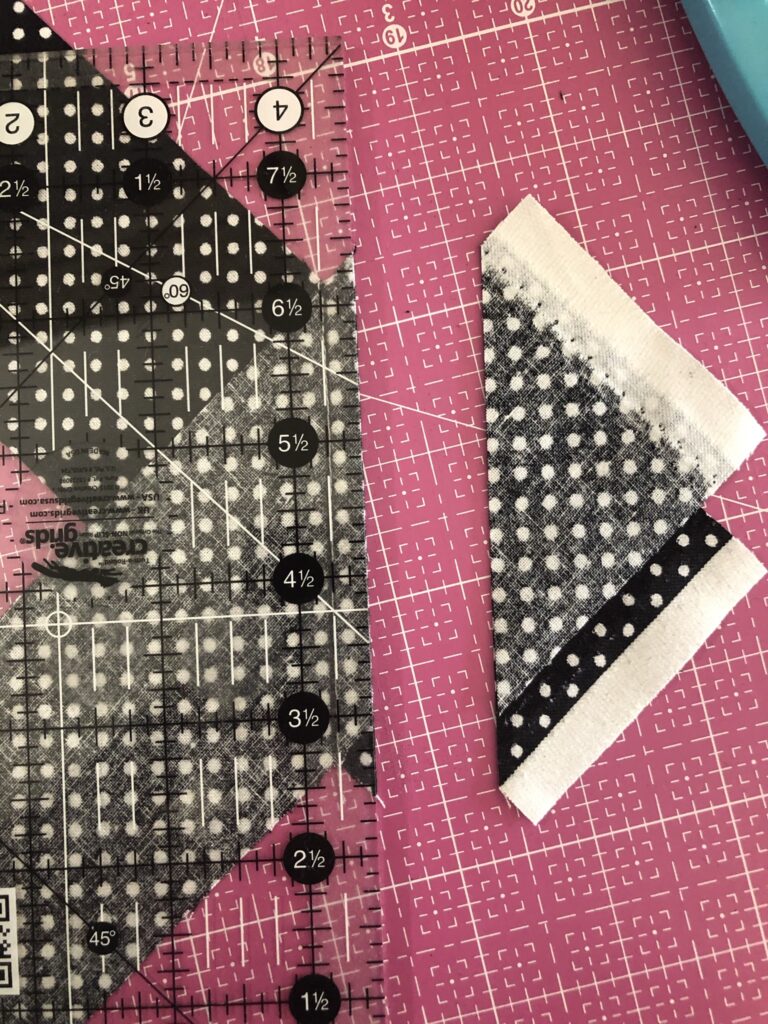
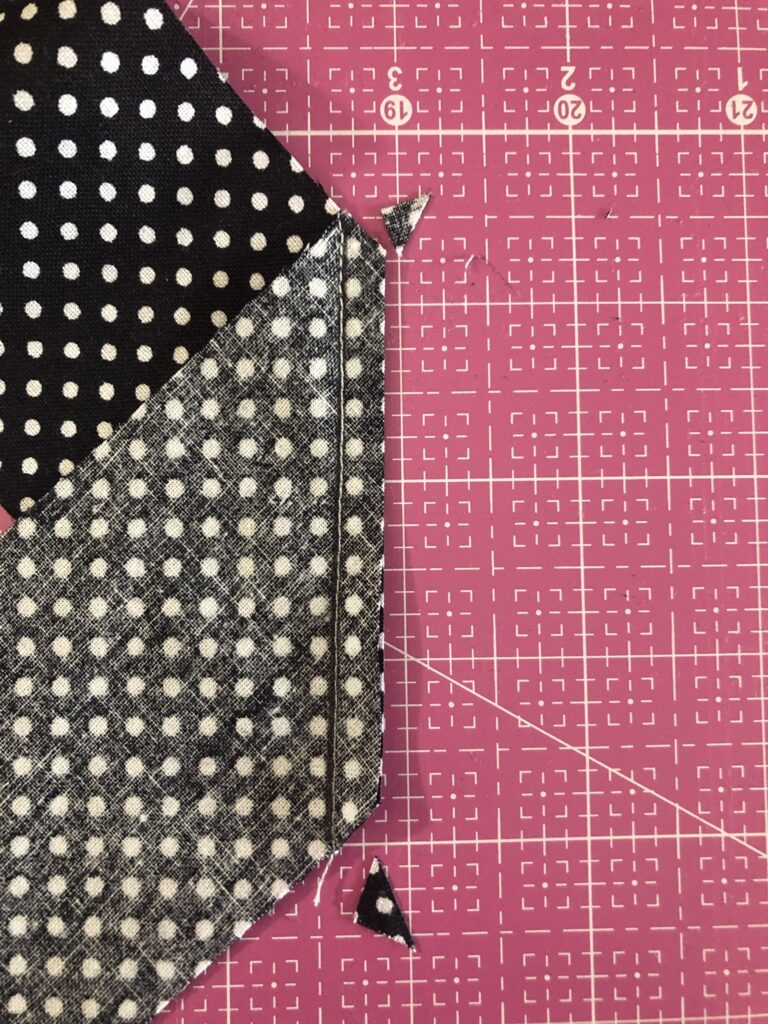
Next, trim those corners off (this is where the selvages get cut off)! You can use a ruler here if you want that perfect 1/4-inch seam, or you can just wing it. And don’t forget those pesky corners that hang off the edges. You will get a nice smooth edge for sewing if you take the extra time to cut off the corners.
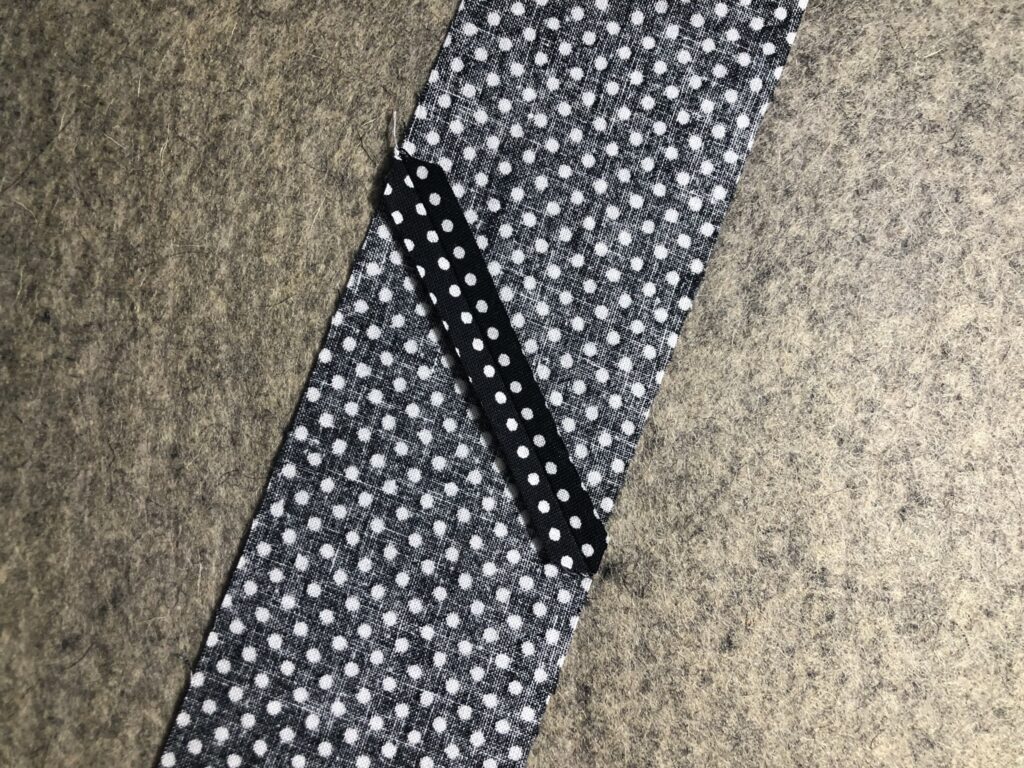
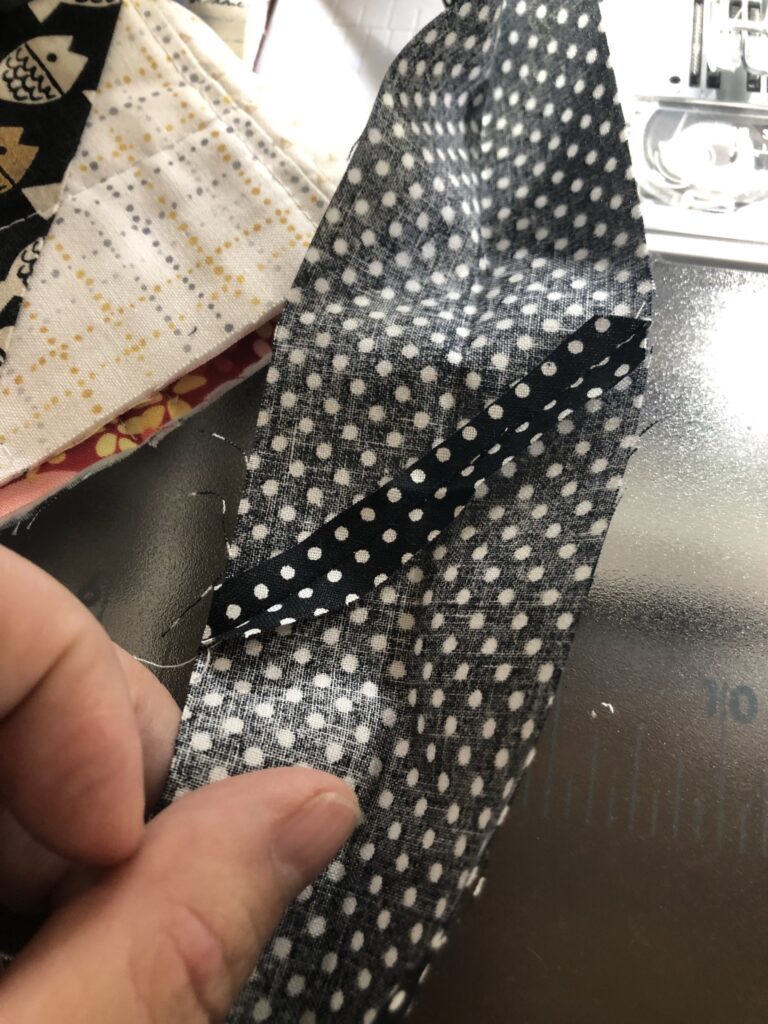
The last step in preparing the binding is to press it. I like to press the seams open so that there is less bulk to sew through. Then I press the entire strip of binding in half on the long edge. Now it is ready to attach to the quilt!

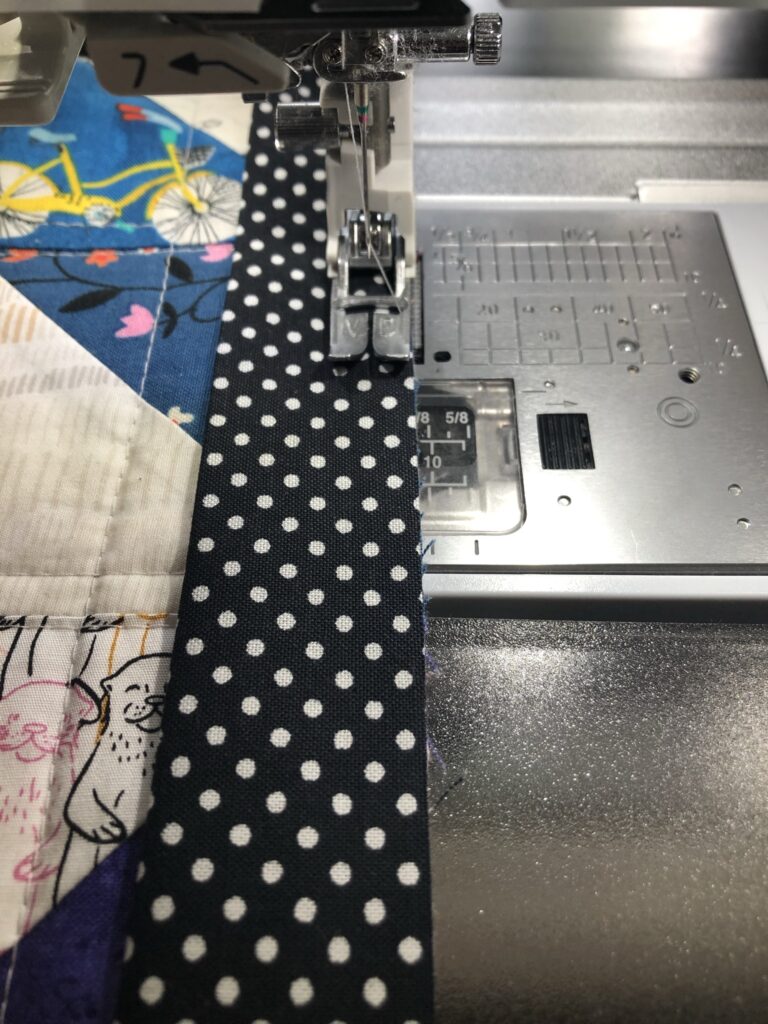
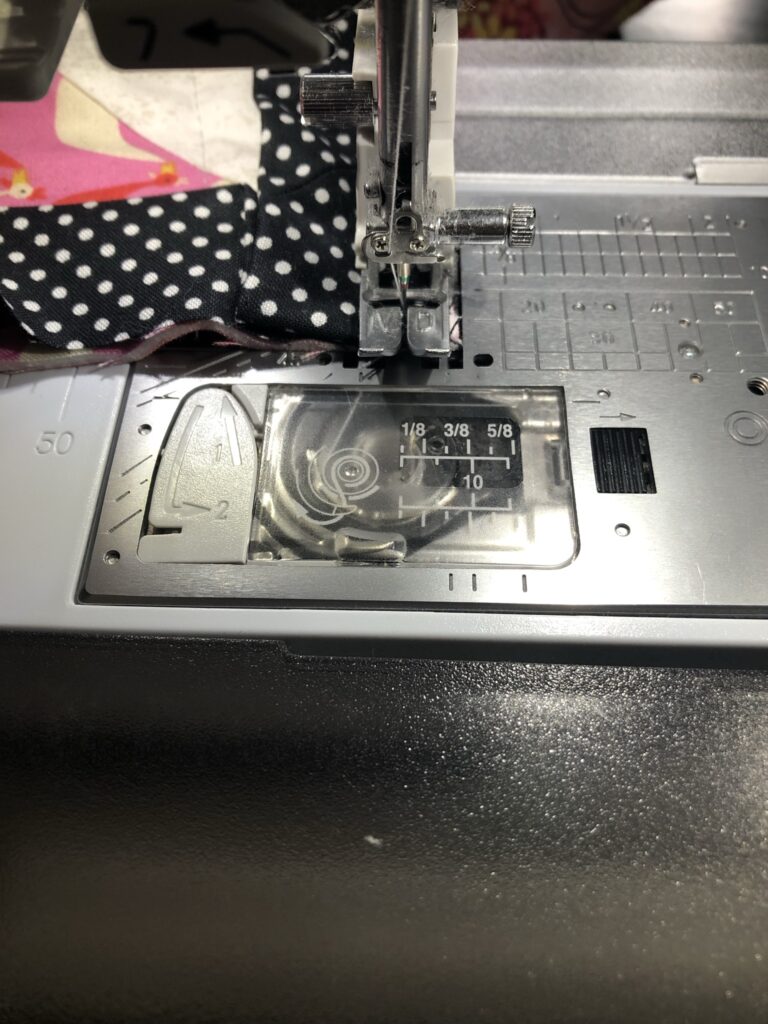
Now that the binding is prepped, it is time to attach it to the quilt. I start by leaving about a 12 inch “tail” and I then line it up with the edge of the quilt. Make sure the folded edge is facing toward the quilt and the unfinished edge is lined up with the unfinished edge of the quilt. We will be sewing this part to the front of the quilt. Sew 1/4 inch from the edge.
You can certainly pin or use clover clips here to hold everything in place if that makes it easier for you. I like to just line it up as I go. I tend not to sew it too fast, so it is pretty accurate for myself.
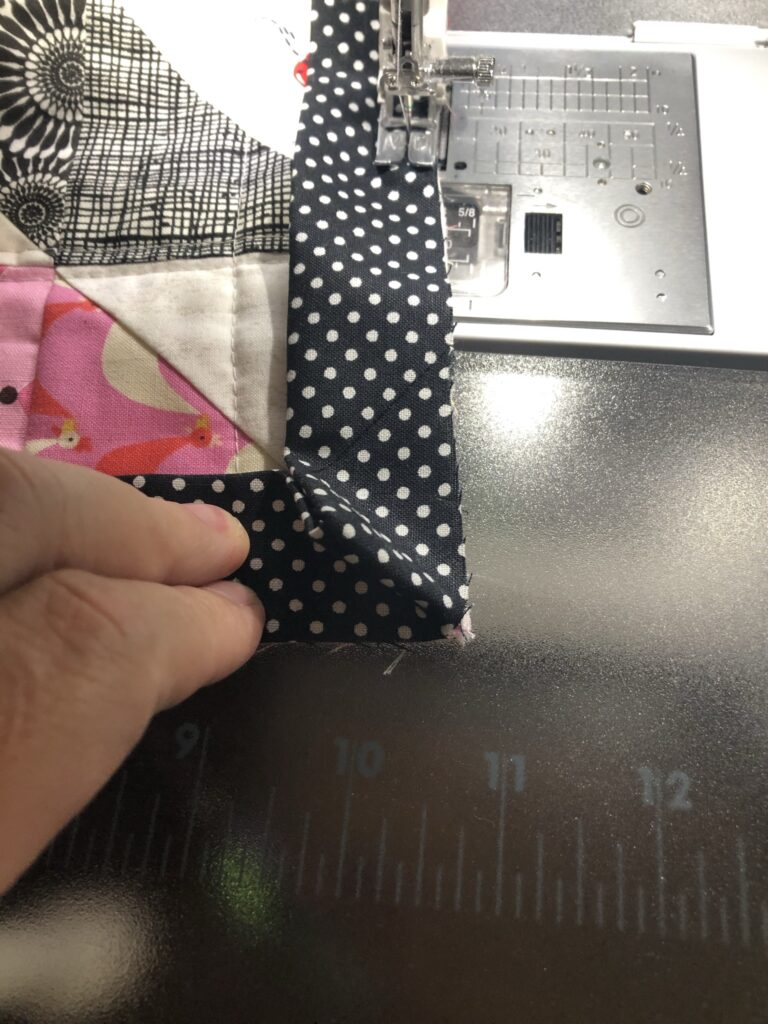
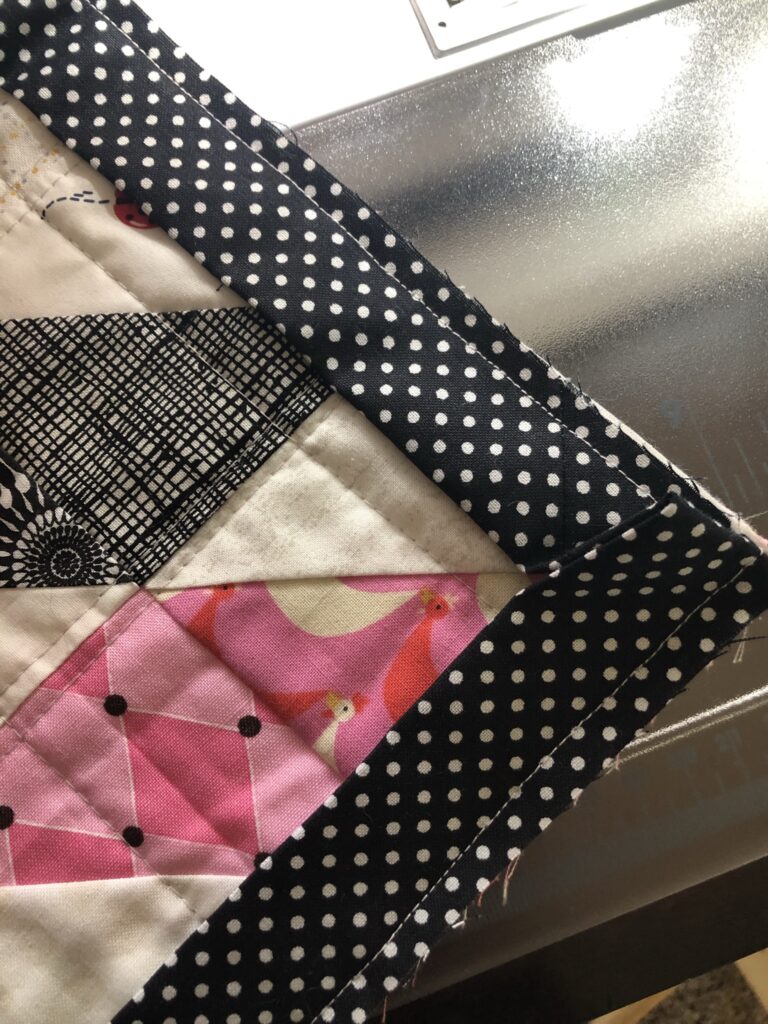
When you get to a corner, you will line the edge up to the corner and then continue to line it up down the next side. You should get a little triangle of folded fabric when you do this. Just hold that down and sew until you are 1/4 inch from the corner.
I do not even break the thread here, I just lift the foot, raise the needle, turn the quilt to line up with the next edge, and flip that little triangle the other way. Then I just start sewing again on the next side of the quilt. This will create a natural mitered corner on this side and make it easier to miter the corner on the back as well.
Continue sewing around all 4 corners of the quilt, stopping about 20 or so inches away from where you started.
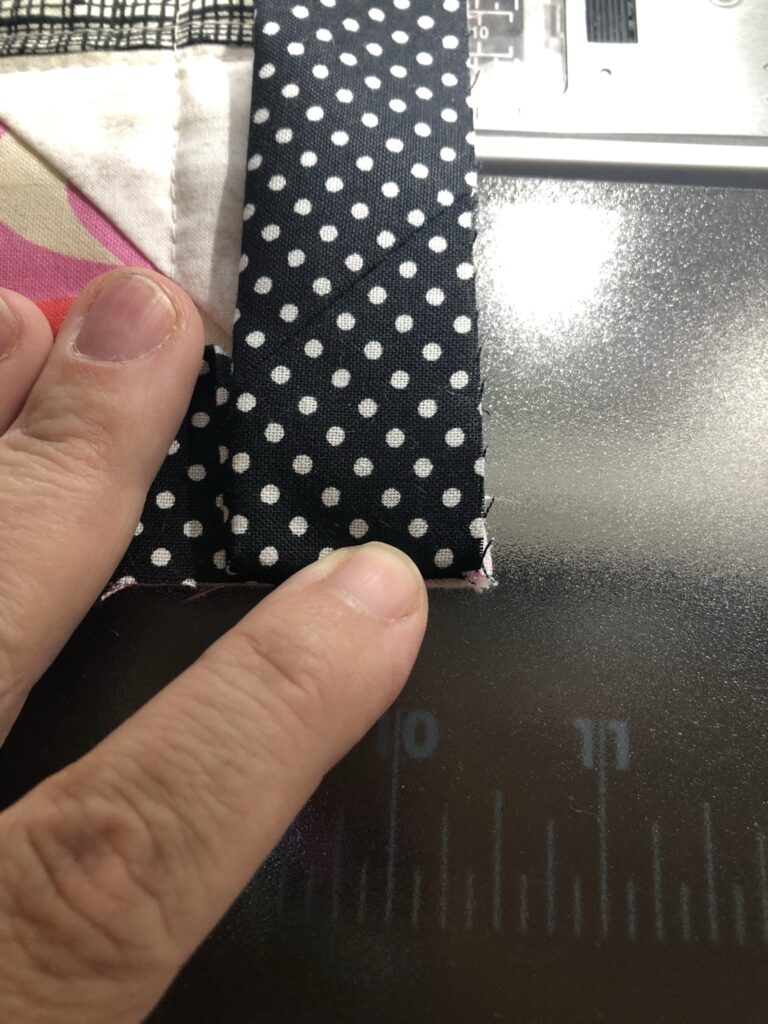
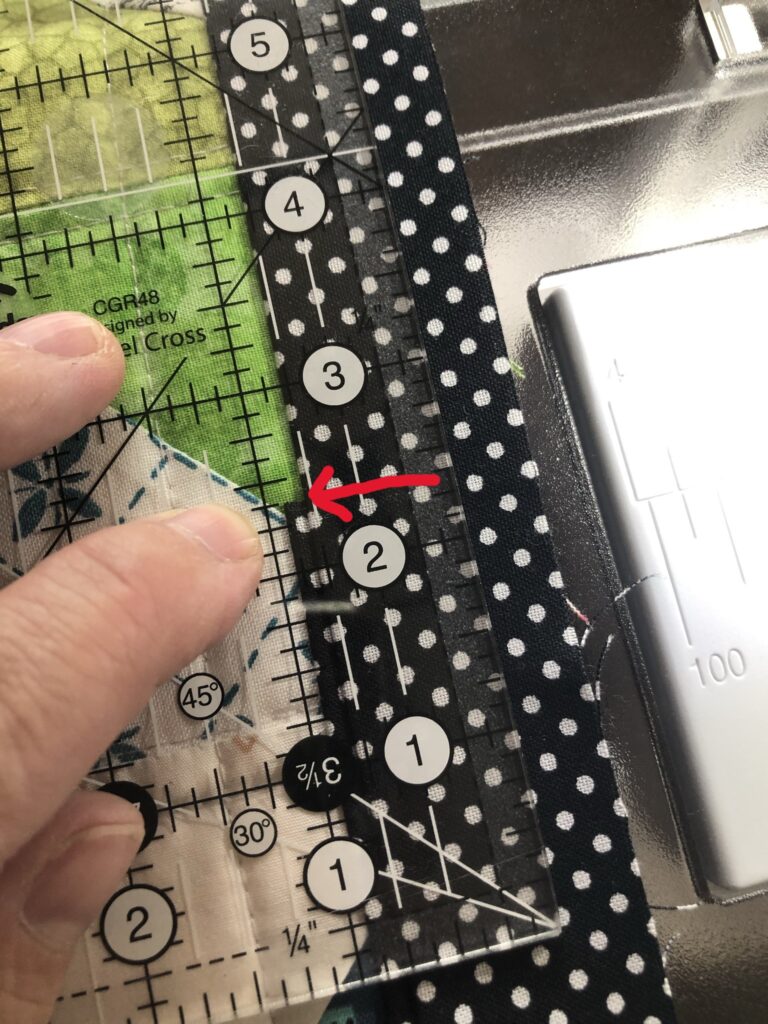
You should have at least a few inches of overlap from your two ends. Now we need to attach the two ends together so you get a nice smooth finish to your binding without any extra bulk. Overlap the two ends and measure 1/8 less than the original width of your strips. Mine were 2 1/2 inches, so I am measuring 2 3/8 inches and trimming off the rest.
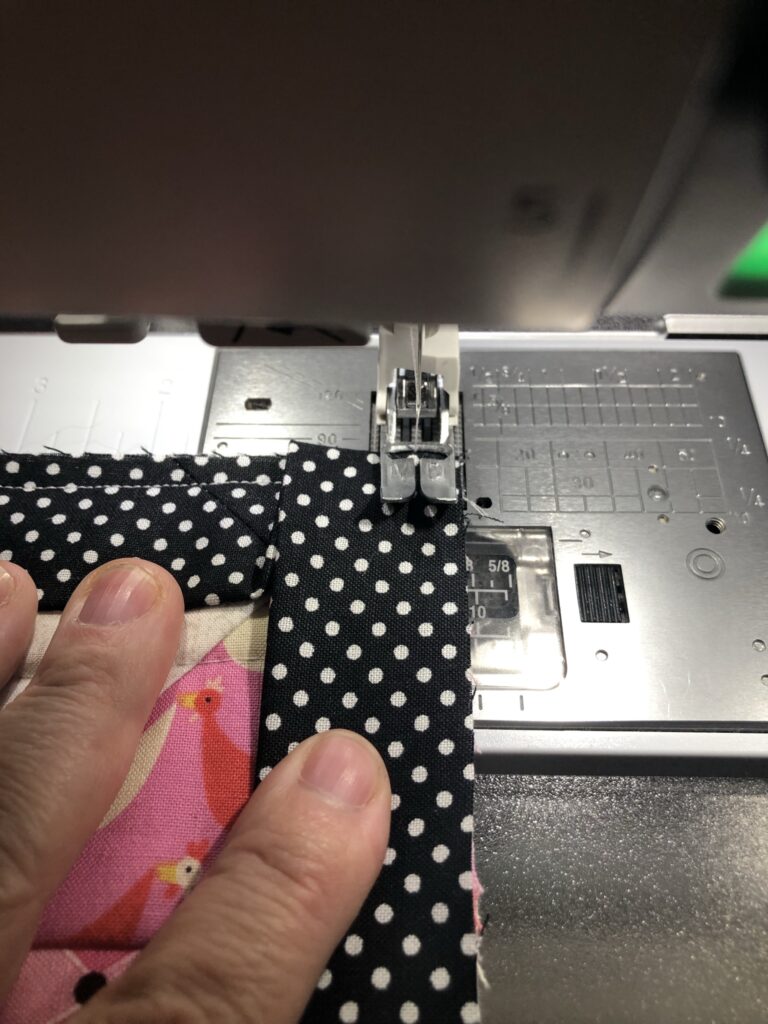
Then, just like I did when originally attaching the strips together, I lay one side up and the other side down and pin them in place. Then I sew from corner to corner just like we did before. Then to be sure I did it right, I pull it straight to make sure there are no twists and it all lines up correctly. Do this before trimming off the corner because once that is cut, there is no going back!
Cut off the corner, press the seam open (you can just finger press or use a seam roller for this one). Then start sewing again where you stopped before and continue to where you started. Once this is done, you should have a perfectly flat binding with no puckers, and no one should be able to see where it begins or ends!
Now it is time to put on a movie, turn on some music, or listen to an audio book. Stitching the binding down on the back of the quilt definitely takes a bit of time, but it is a good time to relax while getting in some entertainment.
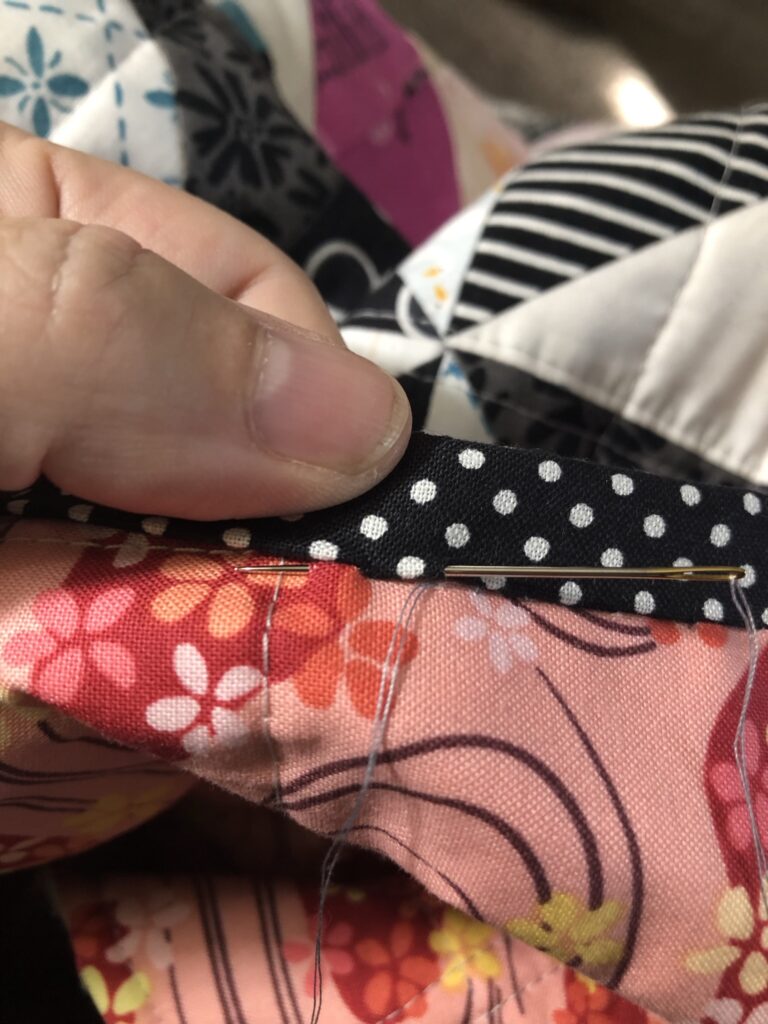
You will want to thread your needle and knot the end. I like to double thread the needle and then tie a knot in the end. Then decide where to start, pull the needle through somewhere coming out on the back where you want your binding edge to be. It should be just past the sewing line from when we sewed it on to the front. I usually go in behind the backing and in front of the batting.
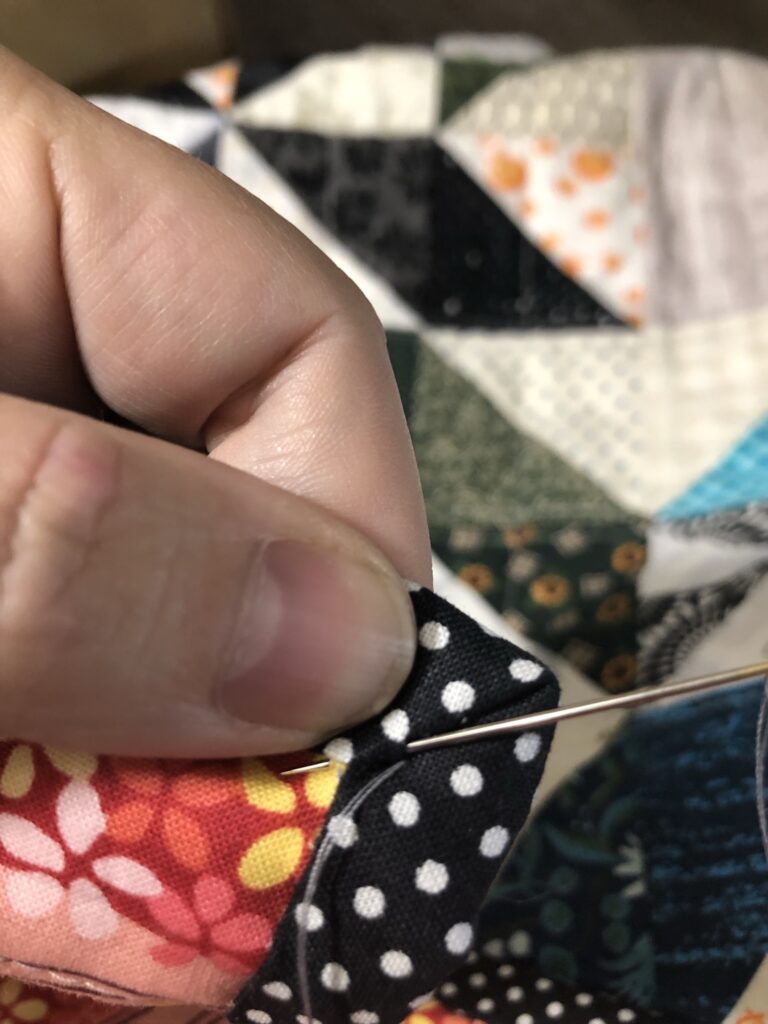
Use a blind stitch all the way around. To do this you will put the needle through a small portion of the binding where it is folded, and then also through a small portion of the backing. Take care not to go through to the front of the quilt as we don’t want those stitches on the top!
The reason I like the 2 1/2-inch binding is for this part in particular. As I just fold over and sew, it is a lot easier to make sure my binding will reach over the stitch line without tiring out my hands if I have that little bit extra fabric to work with. The binding ends up being a bit wider on the back of the quilt, but that is not something that bothers me so much.
When you get to the corners, fold them into a nice miter, and then use the same method to add a stitch or two on the miter to hold it in place.
Continue all the way around your quilt, tie off the thread and bury the knot so it cannot be seen.
You can now celebrate as your quilt is complete!